The Ultimate Guide to Pantry Organization
An organized pantry is the foundation of efficient meal planning and cooking. When you can see what you have at a glance, you waste less food, save money, and make better use of your ingredients. This comprehensive guide will help you transform your pantry into an organized, functional space.
Step 1: The Great Pantry Purge
Before you can organize, you need to declutter. Set aside 1-2 hours for this important first step.
Empty Everything
Yes, everything! Take all items out of your pantry. This gives you a clean slate and helps you see exactly what you have.
Check Expiration Dates
Discard anything that's expired or looks questionable. Be honest—if you haven't used it in a year, you probably won't.
Group Similar Items
As you sort, create piles of similar items: baking supplies, canned goods, grains, snacks, etc. This helps you see what you have multiples of.
Step 2: Clean and Measure
With your pantry empty:
- Wipe down all shelves and surfaces
- Measure shelf heights and depths
- Note any problem areas (hard-to-reach corners, awkward spaces)
Step 3: Choose Your Storage Solutions
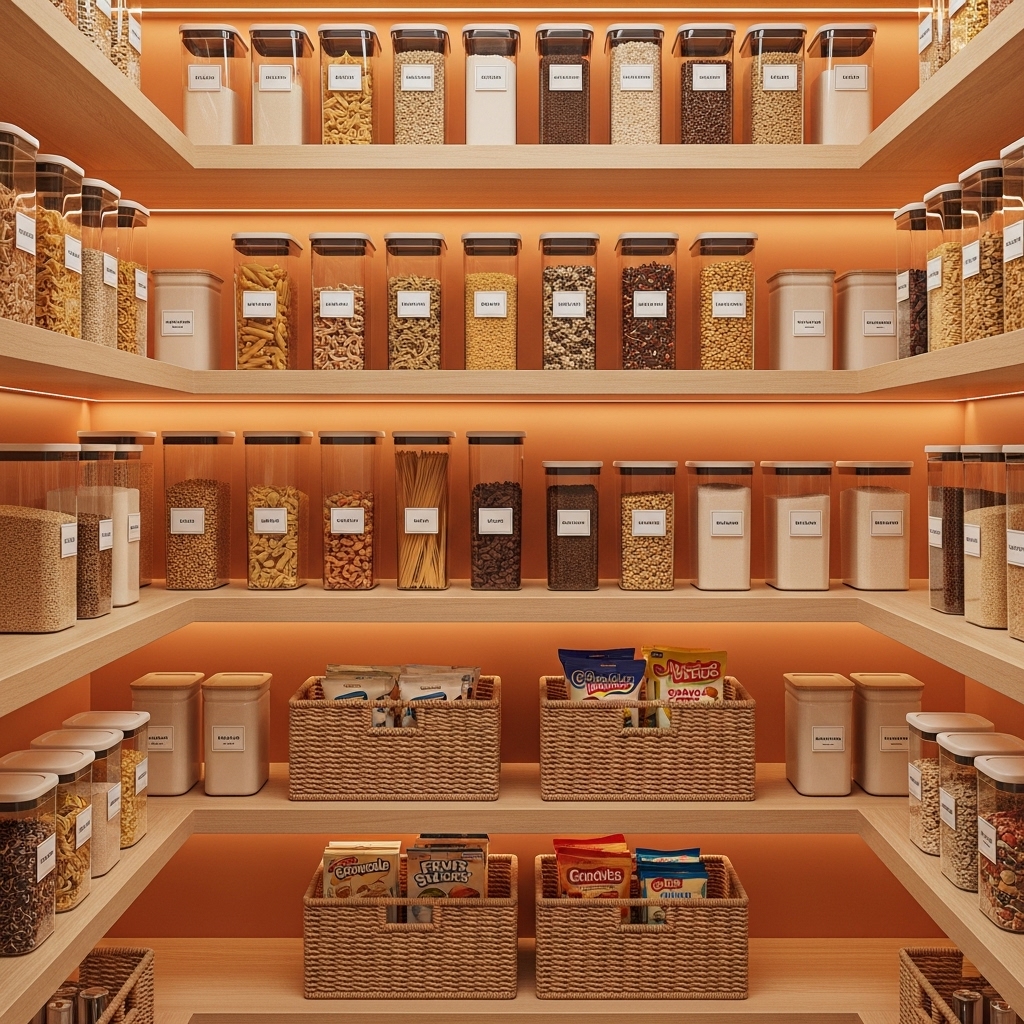
Clear Containers
Invest in airtight, clear containers for dry goods. Benefits include:
- See contents at a glance
- Keep food fresh longer
- Stack efficiently
- Prevent pest problems
Best for: Flour, sugar, rice, pasta, cereal, nuts, dried fruit
Baskets and Bins
Use baskets to corral small items and create zones.
Best for: Snack packets, seasoning packets, tea bags, small cans
Lazy Susans
Perfect for corner spaces and deep shelves.
Best for: Oils, vinegars, sauces, spices
Shelf Risers
Double your vertical space and improve visibility.
Best for: Canned goods, jars, bottles
Step 4: Create Zones
Organize your pantry into logical zones based on how you use items:
Baking Zone
- Flour, sugar, baking powder, baking soda
- Chocolate chips, sprinkles, food coloring
- Vanilla extract, other flavorings
Breakfast Zone
- Cereals, oatmeal, granola
- Coffee, tea
- Pancake mix, syrup
Cooking Zone
- Oils, vinegars
- Spices and seasonings
- Pasta, rice, grains
- Canned tomatoes, beans, broths
Snack Zone
- Chips, crackers, cookies
- Nuts, dried fruit
- Granola bars, protein bars
Step 5: Implement Smart Placement
Eye Level = Most Used
Place frequently used items at eye level for easy access.
Heavy Items Low
Store heavy items (large bags of flour, bulk rice) on lower shelves for safety and ease.
Light Items High
Top shelves are perfect for lightweight, less-frequently used items.
Kids' Zone
If you have children, create a low shelf with healthy snacks they can access independently.
Step 6: Label Everything
Labels are crucial for maintaining organization. Label:
- All containers (include expiration dates)
- Baskets and bins
- Shelf zones
Pro tip: Use a label maker for a professional look, or chalkboard labels for flexibility.
Step 7: Maintain the System
Weekly Maintenance
- Return items to their designated spots
- Wipe up spills immediately
- Check for items nearing expiration
Monthly Review
- Take inventory of what's running low
- Reorganize if needed
- Clean shelves
Quarterly Deep Clean
- Empty and clean all containers
- Check all expiration dates
- Reassess your organization system
Digital Pantry Tracking
Take your pantry organization to the next level with digital tracking. EpuloWeek's pantry tracker helps you:
- Keep a digital inventory of all items
- Track quantities and expiration dates
- Get alerts when items are running low
- Never buy duplicates of what you already have
- Plan meals based on what needs to be used
Common Pantry Organization Mistakes
Buying Too Many Containers
Measure first, buy second. Know your space before investing in storage solutions.
Ignoring Vertical Space
Use shelf risers and stackable containers to maximize vertical storage.
No Maintenance Plan
Organization isn't a one-time event. Build maintenance into your routine.
Overcomplicating the System
Keep it simple. If your system is too complex, you won't maintain it.
Budget-Friendly Organization Tips
You don't need to spend a fortune to get organized:
- Repurpose glass jars from pasta sauce, pickles, etc.
- Use shoe boxes as drawer dividers
- Shop dollar stores for basic bins and baskets
- DIY labels with masking tape and a marker
- Start with one zone and expand gradually
The Bottom Line
An organized pantry saves time, money, and reduces food waste. Start with a thorough purge, invest in the right storage solutions, create logical zones, and maintain the system. With these strategies, you'll transform your pantry into an efficient, functional space that makes cooking and meal planning a breeze.
Ready to track your pantry digitally? Download EpuloWeek for free and never lose track of what's in your pantry again. Our smart tracking system helps you stay organized and reduce waste effortlessly!